

I wanted a simple way to control my meal portions, so I bought a small digital scale. Soon, replacing batteries became annoying. Then I had an idea. What if I could turn it into a DIY rechargeable kitchen scale?
I have tested small electronics projects for years and documented real modifications. This guide is based on an actual working setup, not theory.
1. Why I Started This DIY Rechargeable Kitchen Scale Project
I needed a practical solution. The scale used two 1.5V batteries, and they drained faster than expected. I kept replacing them, which felt wasteful. At the same time, I had an old phone battery sitting unused.
This situation led me to combine both ideas. I wanted a DIY rechargeable kitchen scale that could run longer and reduce waste. The goal was simple but useful.
2. Choosing the Right Scale and Parts
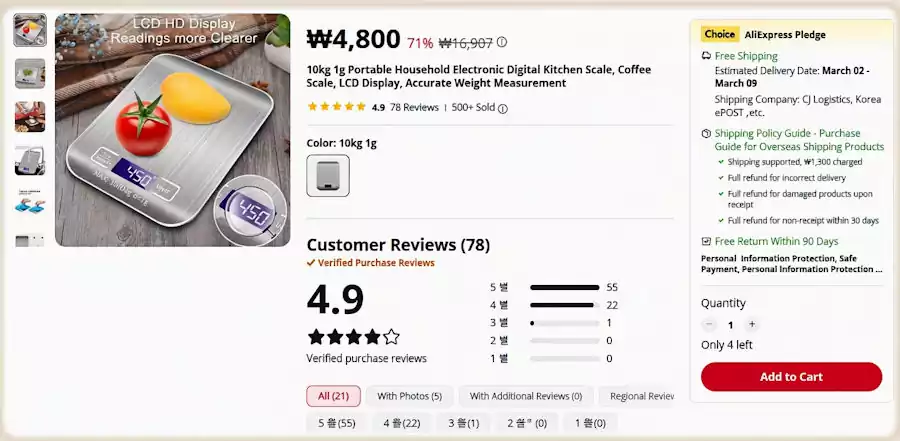
The scale I chose supports up to 10kg with 1g precision. It is compact and fits well in a kitchen. The power design is simple, which makes modification easier.
I used a lithium battery from an old smartphone. I also ordered a small charging module online. This setup is common in reuse old phone battery projects because the parts are cheap and easy to find.
3. Opening the Scale Safely
3.1 Removing the Screw
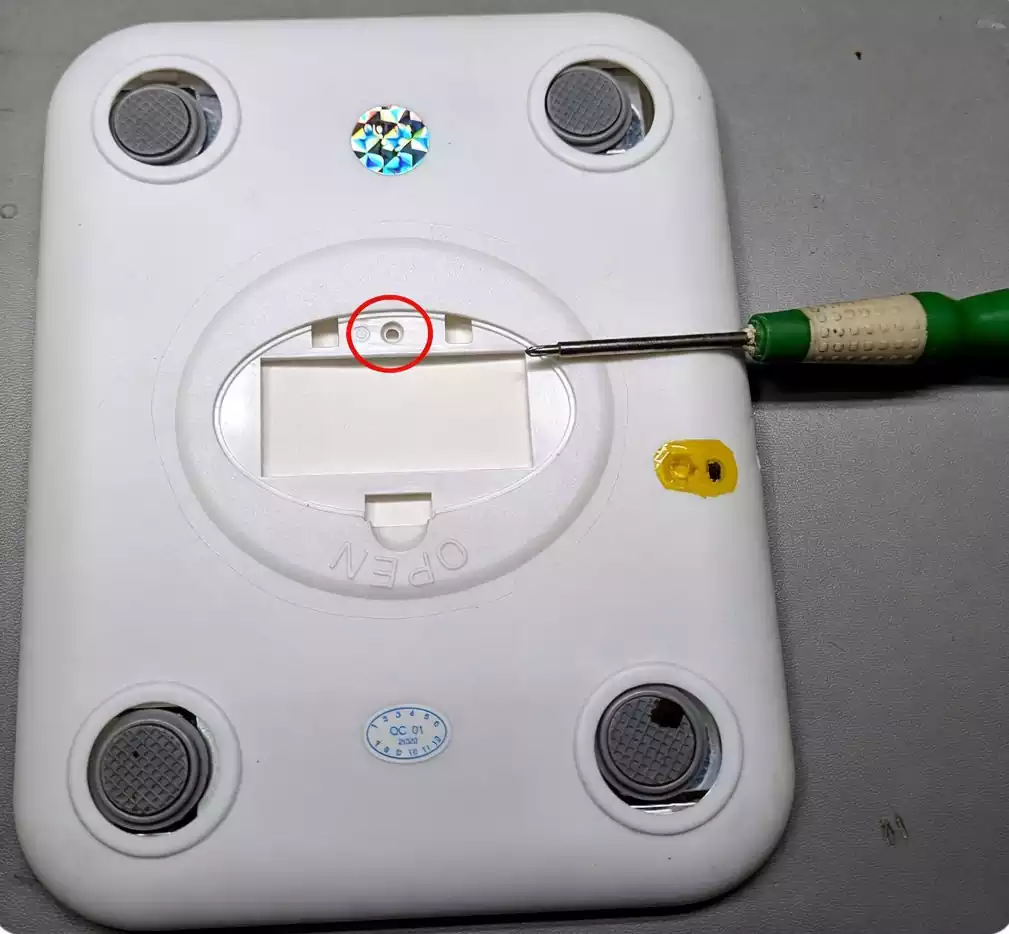
I removed a single screw from the back. The structure was simple and easy to access.
3.2 Separating the Case
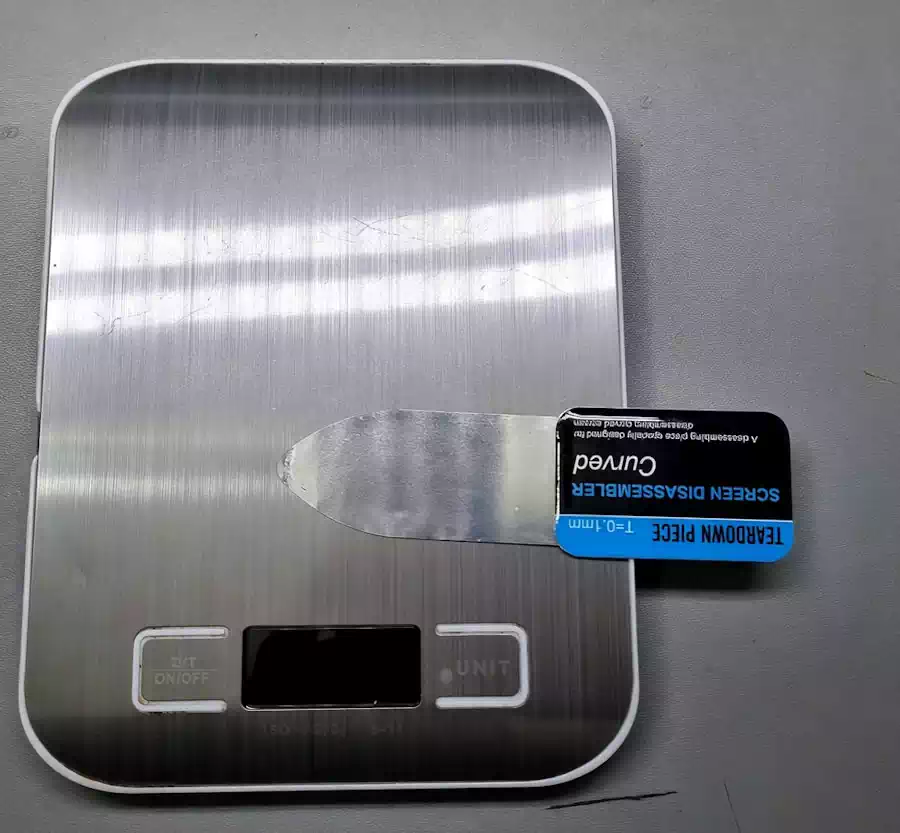
I used a thin metal tool to open the case. I worked slowly to avoid cracking the plastic. This step is important in any digital scale modification.
4. Installing Battery and Charging Module
Inside the case, I cleared space in the battery holder. Then I fixed the lithium battery using double-sided tape. The size fit surprisingly well.
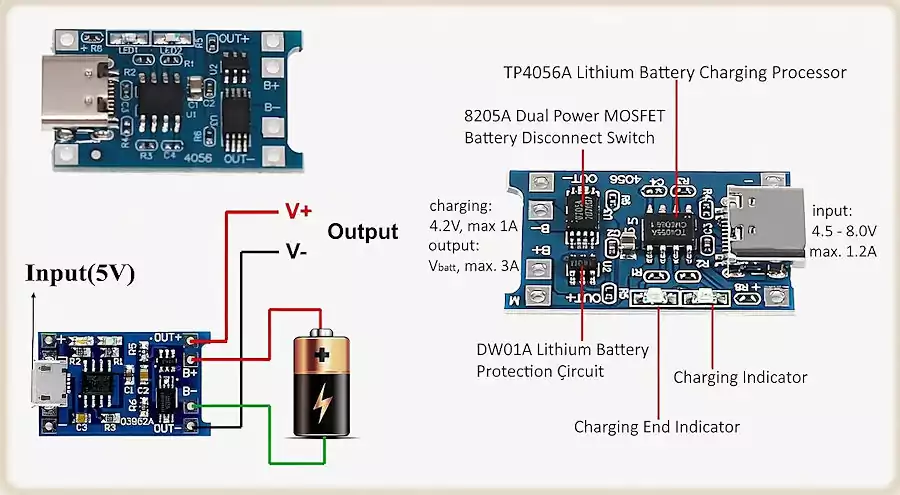
Next, I connected the battery to the charging module. This step is common in lithium battery DIY project setups. The wiring must match polarity exactly.
5. Solving the Voltage Problem
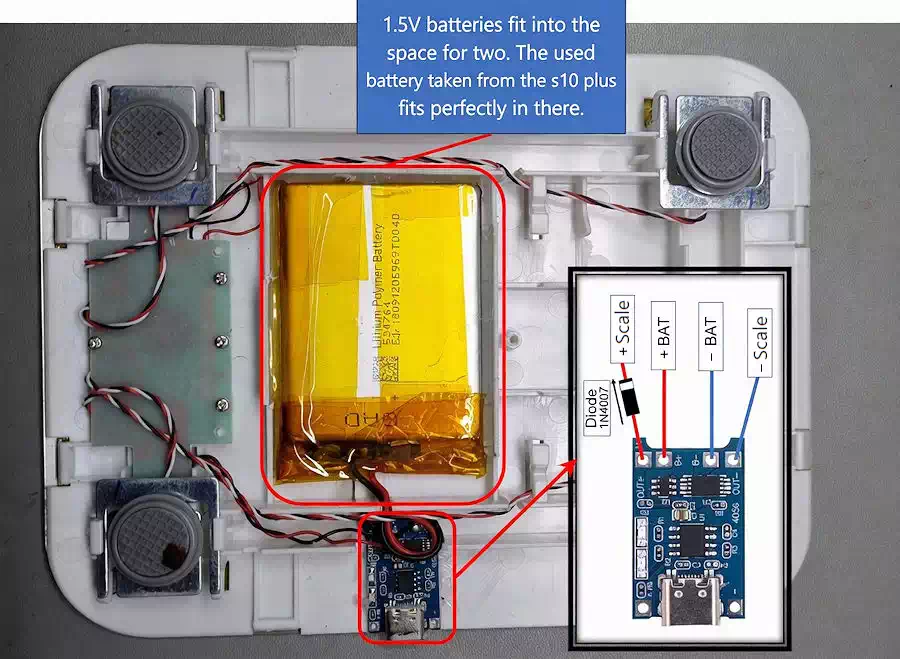
The scale requires 3V, but the battery outputs 3.7V. Direct connection did not work. The device failed to power on.
I added a diode to the positive wire. This simple trick reduced the voltage slightly. It allowed the DIY rechargeable kitchen scale to operate normally.
This method is often used in convert battery scale to rechargeable cases. It is simple and effective for low-power devices.
6. Adjusting the Back Cover
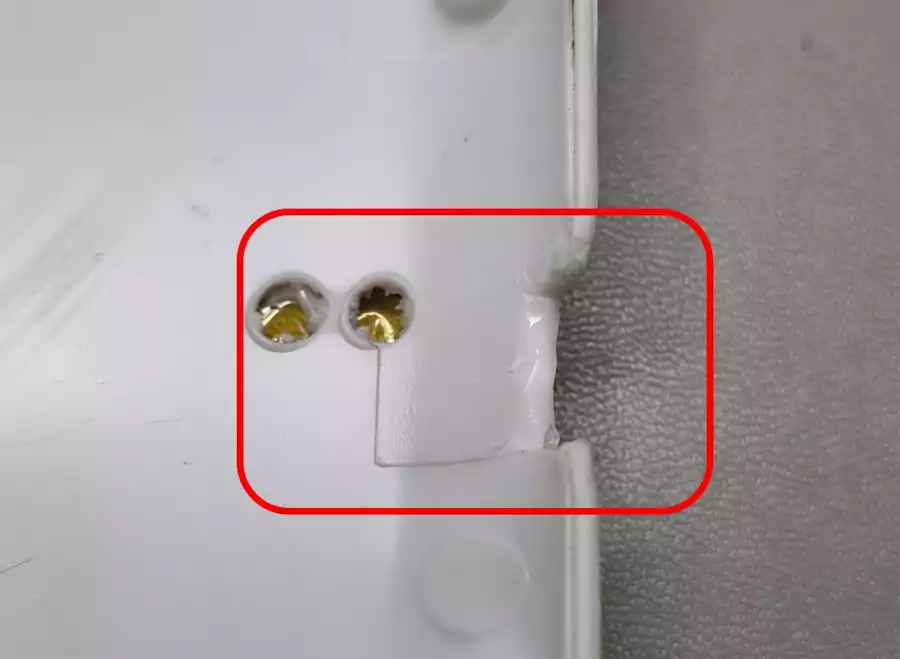
The charging module needed space. I trimmed a small section of the back cover. The goal was to keep the structure stable.
After adjustment, I reassembled the case. The device looked almost unchanged. This step keeps the eco-friendly DIY electronics concept clean and practical.
7. Testing Charging and Operation
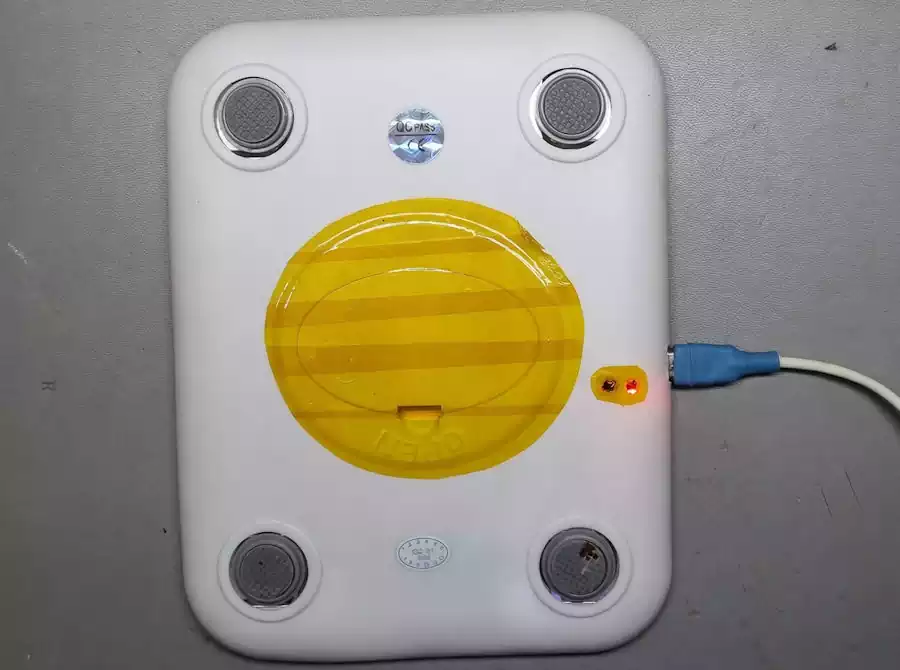
I connected the charger and checked the module. The battery charged correctly. Then I powered on the scale.
The device worked without issues. This confirmed that the digital scale modification was successful. The DIY rechargeable kitchen scale now runs for months on a single charge.
8. Practical Benefits and Expansion Ideas
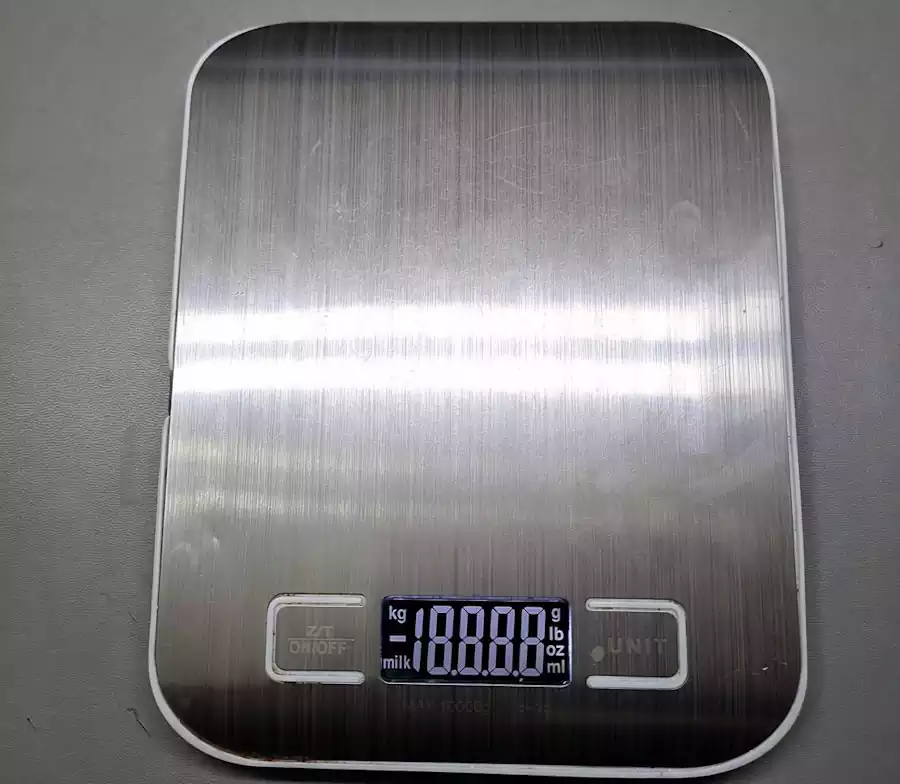
This setup removes the need to replace batteries. It also reduces waste and saves money. That is why reduce battery waste ideas are becoming popular.
You can apply this method to other small devices. Many reuse old phone battery cases follow a similar pattern. With small adjustments, you can expand this into more DIY rechargeable device projects.
For example, you can also upgrade other tools like a glue gun to extend battery life: cordless glue gun battery life upgrade guide.
9. Final Thoughts
This small change made a big difference. A simple idea turned into a useful daily tool. If you have spare parts, this project is worth trying.
10. Recommended Parts for this Project
To make your DIY scale, you’ll need a few specific components. You can find them at the links below:
10.1 The Digital Kitchen Scale (10kg / 1g)
Look for models that use AA or AAA batteries, as they have more internal space for a lithium cell. Search Link: Digital Kitchen Scale 10kg/1g on AliExpress.
10.2 Lithium Battery Charging Module (TP4056)
This is the “brain” of the project. It manages the charging and prevents the battery from overcharging. I recommend the USB-C version for modern compatibility.Search Link: TP4056 USB-C Charging Module on AliExpress.
10.3 Rectifier Diodes (1N4007)
As mentioned in the guide, you need these to drop the voltage from $3.7V to approximately 3V. Search Link: 1N4007 Rectifier Diode Kit on AliExpress
※ Technical Pro-Tip:
- The Voltage DropSince you are dealing with a 3.7V(nominal) lithium battery that can reach 4.2V when fully charged, the Diode is the most critical safety component.A standard silicon diode like the 1N4007 typically creates a forward voltage drop of about 0.6 to $0.7V.
- Calculation: 4.2V – 0.7V = 3.5V
- Why it works: Most “3V” electronics can safely handle up to 3.5V or 3.6V, but 4.2V might fry the sensitive pressure sensor (load cell) controller.
- Internal Linking: You’ve already linked to your glue gun mod—great job! Consider also linking to a post about “How to safely harvest 18650 or phone batteries” if you have one.
- Safety Warning: Always include a small disclaimer. Lithium batteries can be dangerous if punctured or short-circuited.